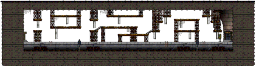
How to get to Line 1 <Area 3> Link to How to get to Line 1 <Area 3>
Choose the map you’re on to see which portals to take.
Or start from a town
From the nearest town
From Kerning City to Line 1 <Area 3>
5 steps 6 maps The fewest map changes over portals.
Portal to take Where you arrive
Step 1 of 5: Kerning City
Take the portal at the right, bottom to Subway Ticketing Booth. Invisible portal
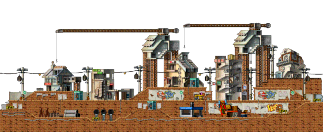
Step 2 of 5: Subway Ticketing Booth
You arrive at the left, top.
Head down and right.Take the portal at the right, bottom to Line 1 <Area 1>.
Step 3 of 5: Line 1 <Area 1>
You arrive at the far left, middle.
Head right.Take the portal at the far right, middle to Transfer Area. Invisible portal
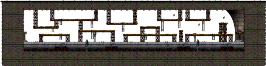
Step 4 of 5: Transfer Area
You arrive at the left, middle.
Head right.Take the portal at the right, middle to Line 1 <Area 2>. Invisible portal
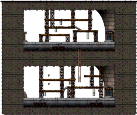
Step 5 of 5: Line 1 <Area 2>
You arrive at the far left, middle.
Head right.Take the portal at the far right, middle to Line 1 <Area 3>. Invisible portal
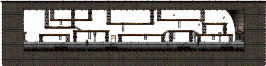
Arrive Line 1 <Area 3>
You come out at the far left, middle.
Mobs 3 mobs · 97 placements Link to Mobs
| Mob | Level | Placements |
|---|---|---|
| Stirge Lv. 20 | 20 | 18 |
| Jr. Wraith | 34 | 31 |
| Wraith | 48 | 48 |


Exits 2 maps Link to Exits
| # | Portal here | Leads to | You arrive |
|---|---|---|---|
| 1 | far left, middle | Line 1 <Area 2> | far right, middle |
| 2 | far right, middle | Line 1 <Area 4> | far left, middle |
Entrances 2 maps
- Line 1 <Area 2> · portal at its far right, middle, arriving at the far left, middle
- Line 1 <Area 4> · portal at its far left, middle, arriving at the far right, middle
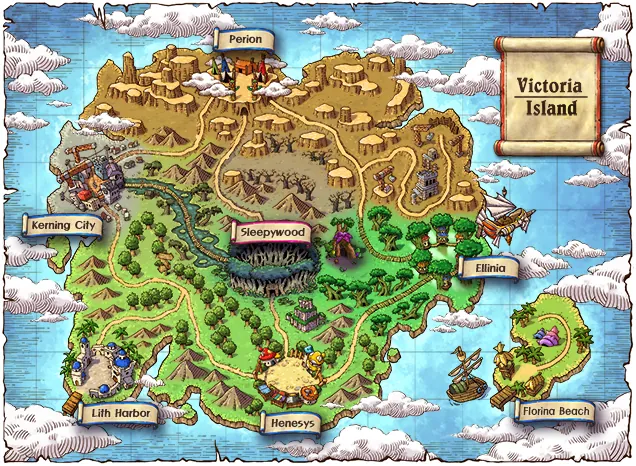
On the world map Link to On the world map
Map info Link to Map info
- Return map
- Kerning City
- Forced return map
- None
- Personal shops allowed
- Yes