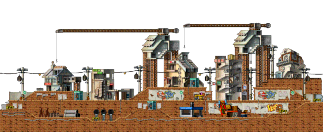
Map
Kerning City
Victoria Road › Victoria Island
- Town
- Exits 12
A thief town in the middle of the city where the sun sets. You can choose to become a thief here.
How to get to Kerning City Link to How to get to Kerning City
Choose the map you’re on to see which portals to take.
Or start from a town
Portal to take Where you arrive
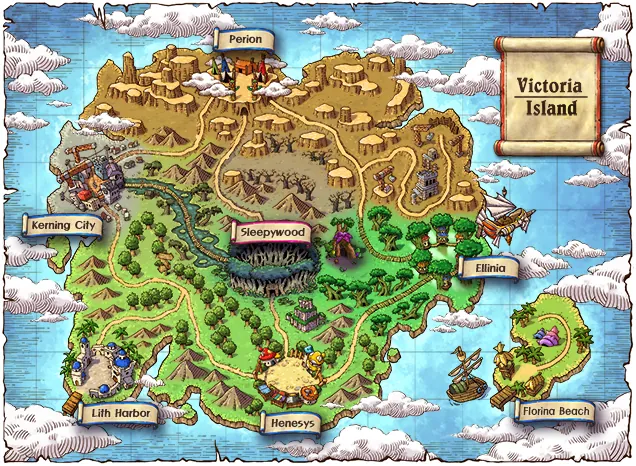
Step 1 of 6: Perion
Take the portal at the far left, bottom to West Street Corner of Perion.
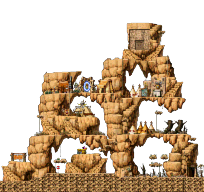
Step 2 of 6: West Street Corner of Perion
You arrive at the far right, bottom.
Head left.Take the portal at the far left, bottom to West Rocky Mountain I.
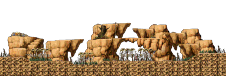
Step 3 of 6: West Rocky Mountain I
You arrive at the far right, middle.
Head left.Take the portal at the far left, middle to West Domain of Perion.
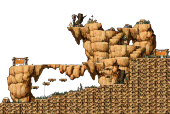
Steps 4 to 6 of 6: Keep heading left through 3 maps
Head left.Take the portal at the far left, bottom each time.
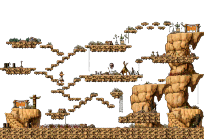
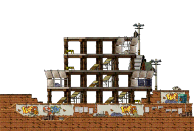
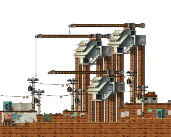
Show each map
Step 4 of 6: West Domain of Perion
You arrive at the far right, top.
Head down and left.Take the portal at the far left, bottom to Construction Site North of Kerning City.
Step 5 of 6: Construction Site North of Kerning City
You arrive at the far right, bottom.
Head left.Take the portal at the far left, bottom to Sunset Sky.
Step 6 of 6: Sunset Sky
You arrive at the far right, bottom.
Head left.Take the portal at the far left, bottom to Kerning City.
Arrive Kerning City
You come out at the far right, middle.
NPCs 17 Link to NPCs










Exits 12 maps Link to Exits
| # | Portal here | Leads to | You arrive |
|---|---|---|---|
| 1 | left, bottom | Kerning City Self-Defence Item Store | far left, bottom |
| 2 | far left, middle | Kerning City Self-Defence Item Store | centre, top |
| 3 | far left, bottom | Kerning City Self-Defence Item Store | far right, bottom |
| 4 | right, bottom | Kerning City Pharmacy | far right, middle |
| 5 | right, bottom | Thieves' Hideout | right, middle |
| 6 | left, bottom | Niora Hospital | far right, middle |
| 7 | left, bottom | Niora Hospital | far right, bottom |
| 8 | centre, middle | Kerning City Hair Salon | left, bottom |
| 9 | centre, middle | Kerning City Repair Shop | far right, top |
| 10 | centre, middle | Kerning City Repair Shop | centre, middle |
| 11 | far right, middle | Kerning City Civic Center | right, bottom |
| 12 | far right, middle | Kerning City Civic Center | centre, top |
| 13 | far right, middle | Kerning City Civic Center | far left, bottom |
| 14 | far left, bottom | Kerning City Construction Site | far right, top |
| 15 | right, bottom | Subway Ticketing Booth | left, top |
| 16 | far right, middle | Sunset Sky | far left, bottom |
| 17 | left, bottom | The Swamp of Despair I | far left, bottom |
| 18 | right, bottom | Backalley Semi-Basement | right, bottom |
Portals within this map 6
These portals lead to another place on this same map.
| # | From | To |
|---|---|---|
| 19 | centre, middle | centre, top |
| 20 | centre, top | centre, middle |
| 21 | right, middle | right, top |
| 22 | right, top | right, middle |
| 23 | far right, bottom | far left, bottom |
| 24 | far left, bottom | far right, bottom |
Entrances 13 maps
- Kerning City Self-Defence Item Store · portal at its far left, bottom, arriving at the left, bottom; portal at its centre, top, arriving at the far left, middle; portal at its far right, bottom, arriving at the far left, bottom
- Kerning City Pharmacy · portal at its far right, middle, arriving at the right, bottom
- Thieves' Hideout · portal at its right, middle, arriving at the right, bottom
- Niora Hospital · portal at its far right, bottom, arriving at the left, bottom; portal at its far right, middle, arriving at the left, bottom
- Kerning City Hair Salon · portal at its left, bottom, arriving at the centre, middle
- Kerning City Repair Shop · portal at its far right, top, arriving at the centre, middle; portal at its centre, middle, arriving at the centre, middle
- Kerning City Civic Center · portal at its right, bottom, arriving at the far right, middle; portal at its centre, top, arriving at the far right, middle; portal at its far left, bottom, arriving at the far right, middle
- Backalley Semi-Basement · portal at its right, bottom, arriving at the right, bottom
- Kerning City Construction Site · portal at its far right, top, arriving at the far left, bottom
- Subway Ticketing Booth · portal at its left, top, arriving at the right, bottom
- Sunset Sky · portal at its far left, bottom, arriving at the far right, middle
- The Swamp of Despair I · portal at its far left, bottom, arriving at the left, bottom
- Backalley Semi-Basement · portal at its right, bottom, arriving at the right, bottom
On the world map Link to On the world map
Map info Link to Map info
- Town
- Yes
- Return map
- This map
- Forced return map
- None
Links to this map Link to Links to this map
Items that list this map under “Moves to map”

Maps that return here 52
- Kerning City Self-Defence Item Store Return map
- Kerning City Pharmacy Return map
- Thieves' Hideout Return map
- Niora Hospital Return map
- Kerning City Hair Salon Return map
- Kerning City Repair Shop Return map
- Kerning City Civic Center Return map
- Backalley Semi-Basement Return map
- Kerning City Construction Site Return map
- Caution Falling Down Return map
- L Forest I Return map
- L Forest II Return map
- L Forest III Return map
- Kerning City Middle Forest I Return map
- Kerning City Middle Forest II Return map
- Kerning City Middle Forest III Return map
- Subway Ticketing Booth Return map
- Line 1 <Area 1> Return map
- Transfer Area Return map
- Line 1 <Area 2> Return map
- Line 1 <Area 3> Return map
- Line 1 <Area 4> Return map
- Line 2 <Area 1> Return map
- Line 2 <Area 2> Return map
- Line 2 <Area 3> Return map
- Sunset Sky Return map
- Construction Site North of Kerning City Return map
- Northern Top of Construction Site Return map
- The Swamp of Despair I Return map
- The Swamp of Despair II Return map
- The Swamp of Despair III Return map
- Dangerous Croko I Return map
- Dangerous Croko II Return map
- Monkey Swamp I Return map
- Monkey Swamp II Return map
- Monkey Swamp III Return map
- The Hermit's Cabin Return map
- B1 <Area 1> Return map
- B1 <Area 2> Return map
- B1 <Subway Depot> Return map
- B1 <Subway Depot> Forced return map
- B2 <Area 1> Return map
- B2 <Area 2> Return map
- B2 <Subway Depot> Return map
- B2 <Subway Depot> Forced return map
- B3 <Area 1> Return map
- B3 <Area 2> Return map
- B3 <Area 3> Return map
- B3 <Subway Depot> Return map
- B3 <Subway Depot> Forced return map
- Cabin of the Forsaken Return map
- Backalley Semi-Basement Return map